Events

From RSVPs to door check-in and sponsors

Create an event and members RSVP in the app — with guests, meal choices, fees, capacity, deadlines and sponsor tiers. Reminders go out automatically and the door runs on QR check-in.

Who uses it:ManagersStaffMembers & guests
What it does

RSVP forms

Member and guest fees, capacity, deadlines and custom fields such as meal choice.

Sponsorships

Offer tiers with names, prices and slots.

Check-in

Scan tickets or member cards; arrivals are tallied live.

Public sign-up page

Publish a URL for non-members; it's recorded as non-member income.

How it flows

  1. 1Office
    Create the event

    Title, date, venue, bilingual description, fees, capacity, deadline and image. Drafts stay hidden.

  2. 2Member / guest
    RSVP in the app

    Add guests and meal choices; a QR ticket is issued.

  3. 3Automatic
    Reminders

    Before the deadline (to those who haven't replied) and the day before (to attendees), by push and email.

  4. 4Staff
    Check in with QR

    Scan a ticket or member card to check guests in.

  5. 5Office
    Review attendance

    See RSVPs, guests and payment status, and export CSV.

See the screens

Admin (office)

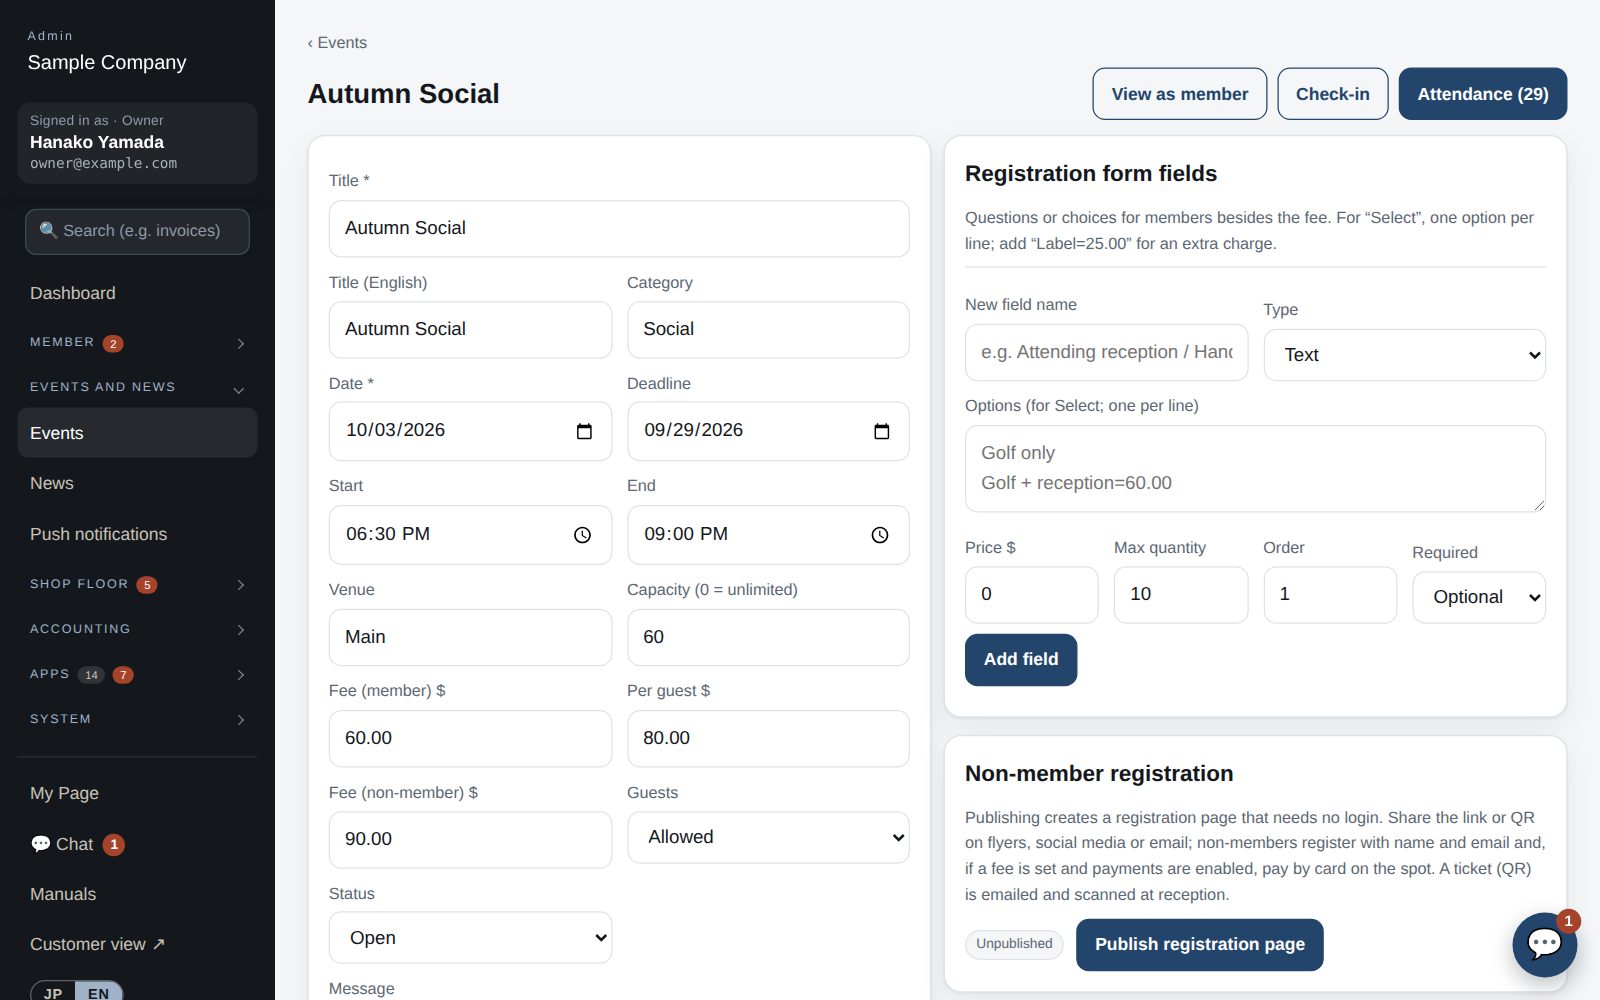
Event editor

Events

  1. Events → “+ Create”. Set title, date/time, venue, description (Japanese and English), fees (member / guest), capacity, deadline and image. Saved as Draft it stays hidden from members.
  2. Add custom fields (meal choice, checkbox, quantity…) and sponsorship tiers (name, price, slots).
  3. Attendees: view RSVPs, guests and payment status, export CSV. The Check-in page handles QR check-in on the day and counts arrivals.
  4. Publish the registration page for non-members to accept public sign-ups via a URL (recorded as non-member income).
  5. Reminders go out automatically by app notification and email a few days before the RSVP deadline (to members who have not replied) and the day before (to attendees). Set the days and on/off under “⚙️ Event reminders” above the event list.

Staff screens

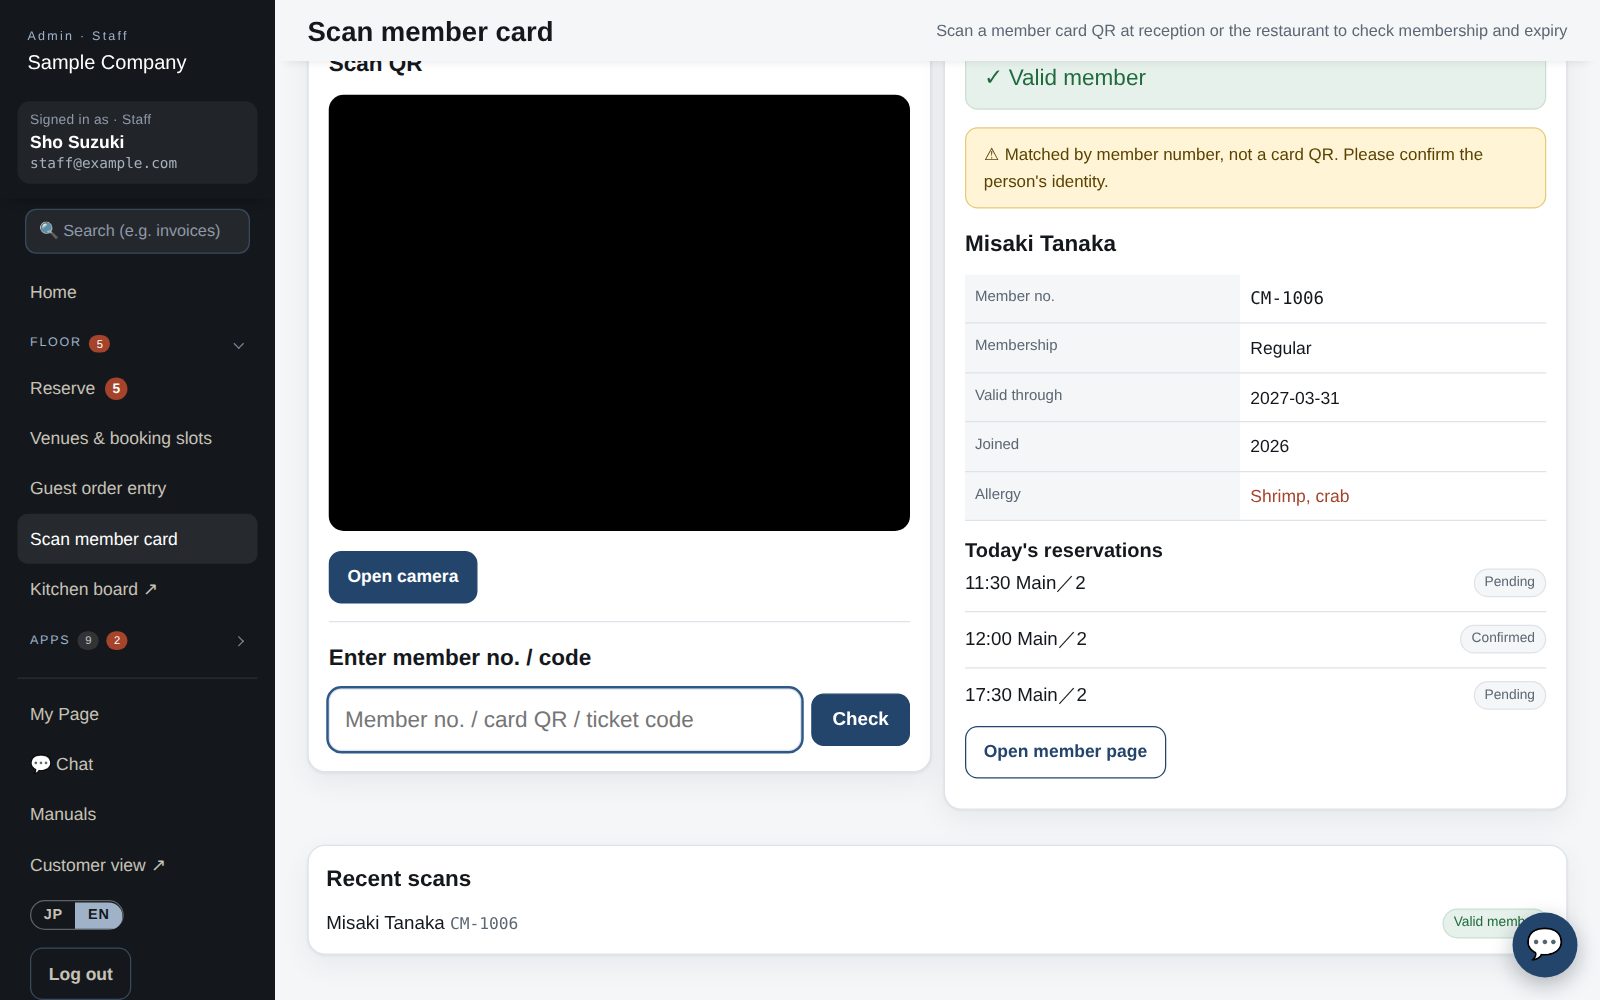
Office site: scan member card

Scanning member cards and event tickets

  1. App: My Page → Staff → “Scan QR”. The first time, allow camera access.
  2. In “Member card” mode, hold the card’s QR in the frame: name, number, category, expiry plus today’s RSVPs and reservations appear. Valid = green; expired or withdrawn = red.
  3. For event check-in, select today’s event in the mode row first. Scanning the ticket or member card marks the guest as checked in; scanning twice does not double count.
  4. If the QR will not scan, type the member number or ticket code in the field below and tap “Check”. The card QR includes the organization, so a card from another organization shows “belongs to another organization” and is not accepted. A QR containing only a number is not accepted either; type the number instead.
  5. Browser: Office site → Scan member card (/admin/scan). Event check-in is also under Events → “Check-in”.

Member app & web

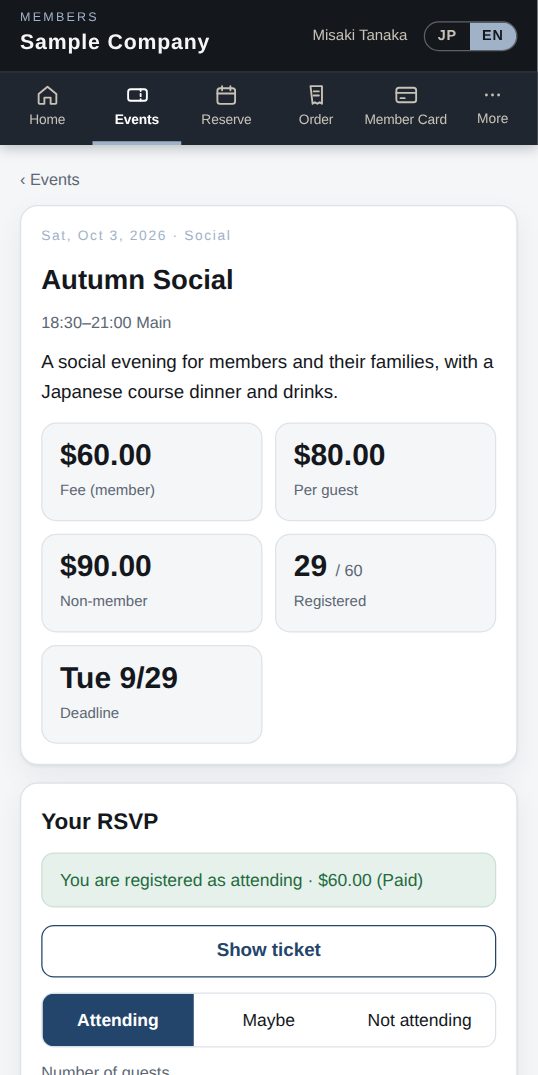
Event detail (web)

Events and RSVP

  1. The Events tab lists open events by date. Tap one for details: date, venue, fee, deadline and remaining seats.
  2. Choose “Attending”, enter the number of guests and submit. If a guest is not a member, enter their name (the club is required to keep this record).
  3. Some events have extra fields (meal choice etc.) or sponsorship tiers you can apply for.
  4. After you RSVP a ticket is issued. On the day, show the ticket QR or your member card to check in. Fees are added to your statement or paid as instructed.
  5. You can change or cancel until the deadline; after that, contact the office.

Works well with

Start with just the features you need. If nothing fits the way you work, we'll build it for you — free.

Get started →🎁 Get a custom app, free